That rock-hard bag of brown sugar probably is not ruined. It has simply lost the moisture that normally keeps its crystals loose and packable. Illinois Extension explains that molasses helps brown sugar hold water, but exposure to air lets that moisture escape, eventually turning soft sugar into something resembling a brick.
If you need it for cookies, oatmeal, barbecue sauce, or another recipe right now, how to soften brown sugar in the microwave fast comes down to one principle: gently return a small amount of moisture without overheating the sugar. The quickest reliable method takes less than a minute in many microwaves.
The Fast Microwave Method
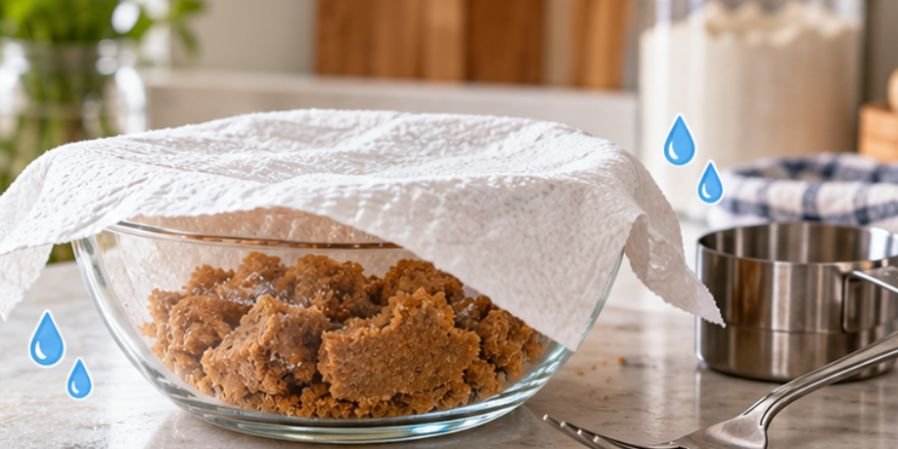
For most home kitchens, you need only hardened brown sugar, a microwave-safe bowl, a clean damp paper towel, and a fork.
Step 1: Put the Sugar in a Microwave-Safe Bowl
Transfer only the amount of brown sugar you expect to use. Large solid blocks can remain intact initially; you do not need to attack them with a knife.
USDA guidance recommends using cookware specifically intended for microwave use, such as properly labeled glass, ceramic, or microwave-safe plastic containers.
Step 2: Add Controlled Moisture
Wet a clean white paper towel with water, then wring it out thoroughly. It should feel damp rather than dripping wet.
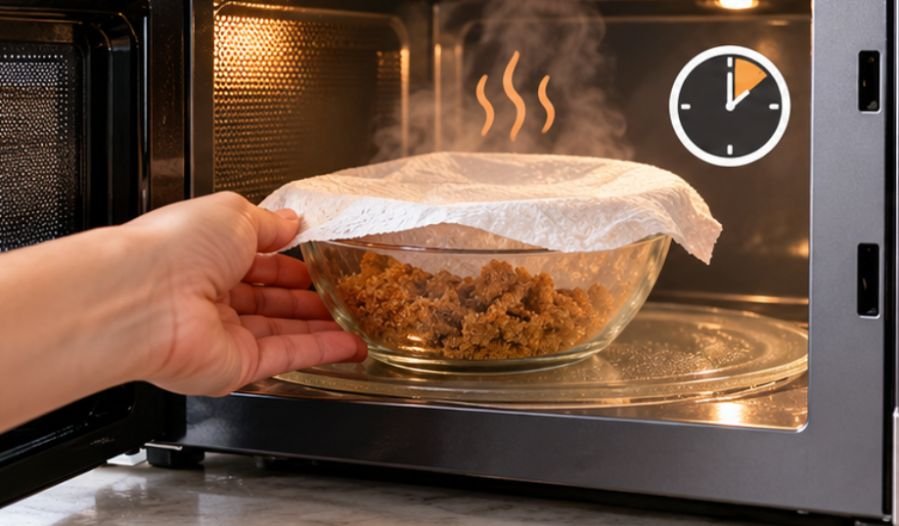
Place the damp towel over the bowl. The goal is to create a humid environment around the sugar rather than pour water directly into it.
This works because hardened brown sugar has primarily experienced moisture loss. The Sugar Association notes that evaporation causes brown sugar to harden and that restoring moisture can soften it again.
Step 3: Microwave for 10 to 20 Seconds
Start with 10 seconds on high, particularly if you have a powerful microwave or are softening less than a cup.
Remove the bowl carefully and press the sugar with a fork. If it remains hard, microwave it for another 10 seconds.
Continue in short intervals rather than heating continuously.
Microwave wattage varies considerably, and USDA guidance notes that higher-wattage machines heat food faster. That makes short bursts a much safer approach than assuming every microwave needs the same 30- or 60-second cycle.
Step 4: Break Apart the Warm Sugar
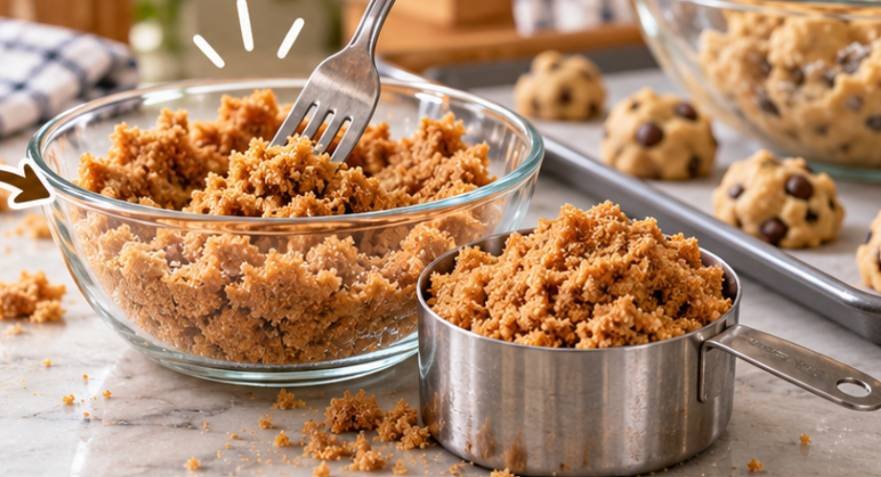
Once the outside of the lump begins yielding to pressure, use a fork or spoon to separate it. If the center remains hard, give it another short burst with the damp towel in place.
For how to soften brown sugar in the microwave fast, think 10 seconds at a time rather than one long heating session. The objective is softening, not cooking.
Step 5: Measure and Use It Immediately
Brown sugar can begin firming again as it cools because the microwave treatment is a temporary rescue rather than a permanent storage solution.
Measure the amount your recipe requires while the sugar is soft.
That is especially useful when making cookies, muffins, quick breads, and other frugal baking recipes from scratch, where replacing an ingredient unnecessarily can turn an inexpensive recipe into another grocery-store run.
Why Brown Sugar Turns Hard in the First Place
Brown sugar behaves differently from ordinary granulated sugar because of its molasses content.
Iowa State University Extension explains that molasses contributes moisture, flavor, color, and texture to brown sugar and makes it more hygroscopic than white sugar, meaning it interacts readily with moisture.
Once an opened bag sits exposed to dry pantry air, water gradually escapes. The thin coating around the sugar crystals dries, and those crystals bind together.
Utah State University Extension similarly notes that brown sugars contain natural moisture and require moisture- and odor-resistant airtight packaging for storage.
So repeatedly smashing hardened sugar does not address the underlying problem. You may produce smaller rocks, but the sugar still needs moisture.
How to Tell When the Sugar Is Ready
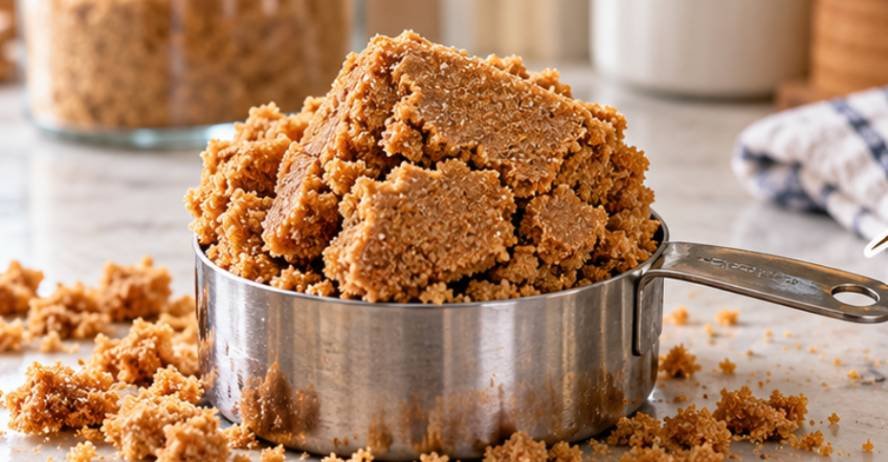
Do not judge softness only by appearance. Use this simple three-part test:
- Press the sugar with the back of a fork. It should crumble rather than crack.
- Rub a small amount between your fingers after it has cooled enough to handle safely. Individual crystals should separate easily.
- Pack some into your measuring cup. Properly softened brown sugar should compress without containing hard chunks.
If it passes those checks, stop microwaving.
Too many heating cycles can make portions extremely hot and may begin melting sugar at hot spots.
Mistakes That Can Ruin the Quick Fix
Adding Too Much Water
Do not pour water directly over the sugar unless a recipe specifically calls for additional liquid.
Excess water can create wet patches or partially dissolve the crystals, changing how accurately you measure the ingredient.
A wrung-out paper towel provides moisture gradually and gives you much more control.
Microwaving for a Full Minute at Once
A minute may not sound long, but sugar becomes dangerously hot when overheated.
Microwaves also do not heat everything perfectly evenly. USDA recommends stirring or rotating foods during microwave heating because temperature can vary throughout the container.
Short intervals let you stop the moment the sugar becomes workable.
Using the Original Package
Do not simply put the retail bag in the microwave unless its manufacturer explicitly says it is microwave-safe.
Transfer the sugar into appropriate cookware. USDA warns against heating food in containers that are not designed for microwave use because some packaging can warp, melt, or allow chemicals to migrate into food.
Trying to Permanently Fix the Entire Bag
The microwave is best considered an emergency method.
If you soften three pounds when your recipe requires half a cup, much of that sugar may harden again before you use it.
Warm only what you need.
What If You Do Not Have a Microwave?
You have slower alternatives. Purdue Extension recommends warming hardened brown sugar in a low oven, around 250°F to 300°F, and measuring it while it is still warm because it can firm again after cooling.
For a no-heat approach, brown sugar can also be sealed with something that gradually supplies moisture, such as a brown-sugar terracotta disk. Traditional methods involving bread or apple slices also work, but they require hours rather than seconds and should not be treated as a permanent pantry fixture.
If you are improvising meals because the pantry is nearly empty, keeping staples usable can also help with figuring out what to cook when you have no money for groceries instead of discarding ingredients that are still usable.
Prevent the Problem Before Your Next Baking Day
The best solution happens after you finish measuring.
Move opened brown sugar into an airtight container with a dependable seal rather than folding the original bag loosely and returning it to the cabinet.
Illinois Extension recommends protecting opened pantry foods with sealed bags or lidded containers, while Utah State specifically recommends airtight, moisture-resistant packaging for sugars.
Keep the container away from excessive heat and leave as little opportunity as possible for pantry air to circulate through it.
Making the most of pantry ingredients also means finding creative uses for foods before they go to waste. These genius ways to use stale bread before it molds can help you turn leftover bread into practical kitchen solutions rather than throwing it away.
A reusable brown-sugar saver made from food-safe terracotta can provide additional moisture control if hardened sugar is a recurring problem in your kitchen.
Frequently Asked Questions
1. Can I microwave brown sugar without a damp paper towel?
Yes, but added humidity makes the method more effective. A slightly damp paper towel helps restore the moisture hardened brown sugar has lost.
2. How long should I microwave hard brown sugar?
Start with 10 seconds, check it, and continue in 10- to 20-second intervals. Microwave strength and the amount of sugar affect the total time.
3. Will microwaving brown sugar melt it?
It can if overheated. Short bursts and frequent checking are important because sugar can develop very hot spots before the entire batch appears melted.
4. Why does softened brown sugar become hard again?
Microwaving provides temporary moisture and warmth. Once the sugar cools and moisture escapes again, it may reharden unless stored promptly in an airtight container.
Final Thoughts
Learning how to soften brown sugar in the microwave fast can turn a frustrating pantry surprise into a 30-second fix. The important part is restraint: use a microwave-safe bowl, provide just a little moisture, heat in brief intervals, and stop as soon as a fork can break apart the sugar.
Then solve the problem that caused the brick in the first place. Transfer the remaining brown sugar to an airtight container and keep it properly sealed. A hardened bag does not automatically belong in the trash. Usually, it is simply asking for the moisture it lost.